
If you’ve ever paused at the final confirmation screen wondering whether your crypto will land safely where it’s supposed to, this guide is for you. Below is a complete, practical walk-through of the Binance withdrawal process and limits—covering crypto and fiat off-ramps, network choices, fees, verification tiers, 24-hour caps, security holds, and how to boost your limits when you need to move more.
- 20% trading fee discount
- $100 signup bonus
- $10,000 futures bonus
- 50% trading fee discount
- 20% fee cashback
- $6,200 futures bonus
- 20% fee cashback
- $8,000 bonus
- 20% fee cashback
- $60,000 futures bonus
- 20% trading fee discount
- $30,050 signup bonus
- 20% fee cashback
- $10,000 bonus
- Bonus pack worth $100–$1,500 USDT
- Fee discount
Fast-track tip: New users can save on fees and unlock extra perks. Join Binance with the referral code CRYPTONEWER for a 20% fee discount and up to $10,000 in benefits: Claim your Binance welcome benefits
Why the Binance withdrawal process and limits matter
- Avoid stuck funds caused by wrong networks, missing tags/memos, or unsupported addresses.
- Optimize speed and fees by choosing the right network (ERC20 vs BEP20 vs TRC20, etc.).
- Understand daily withdrawal limits and how KYC levels or VIP tiers affect them.
- Know when withdrawals may be delayed by security checks, password resets, or network congestion.
This isn’t abstract theory. It’s the practical framework you’ll use every time you move assets off the exchange.
The two big paths: crypto vs fiat withdrawals
- Crypto withdrawals: Send coins/tokens to your self-custody wallet or another exchange. You’ll choose the asset, paste an address, pick a network, set an amount, and pay a network fee.
- Fiat withdrawals: Cash out to your bank via ACH/SEPA/SWIFT/Faster Payments or other local rails supported in your region. Limits, fees, and settlement times vary by currency and country.
Tip: Internal Transfers between Binance users (via email/UID) are typically instant and fee-free for supported assets, but they are not on-chain withdrawals.
Binance verification levels, VIP tiers, and how they impact limits
Binance withdrawal limits are dynamic. They depend on:
- Your identity verification level (KYC tier)
- Your region and local regulations
- Asset type, network selection, and liquidity conditions
- Account risk controls (e.g., recent password reset triggers a temporary withdrawal lock)
- VIP tiers based on your 30-day trading volume and BNB holdings
How to see your current limits:
- Log in to Binance (web or app).
- Go to Profile > Identification (or Security & Verification in the app).
- Review your current verification tier and the displayed withdrawal limits for crypto and fiat.
If you need to withdraw more in a 24-hour period, complete the next verification level or contact support if a business/corporate account is more appropriate.
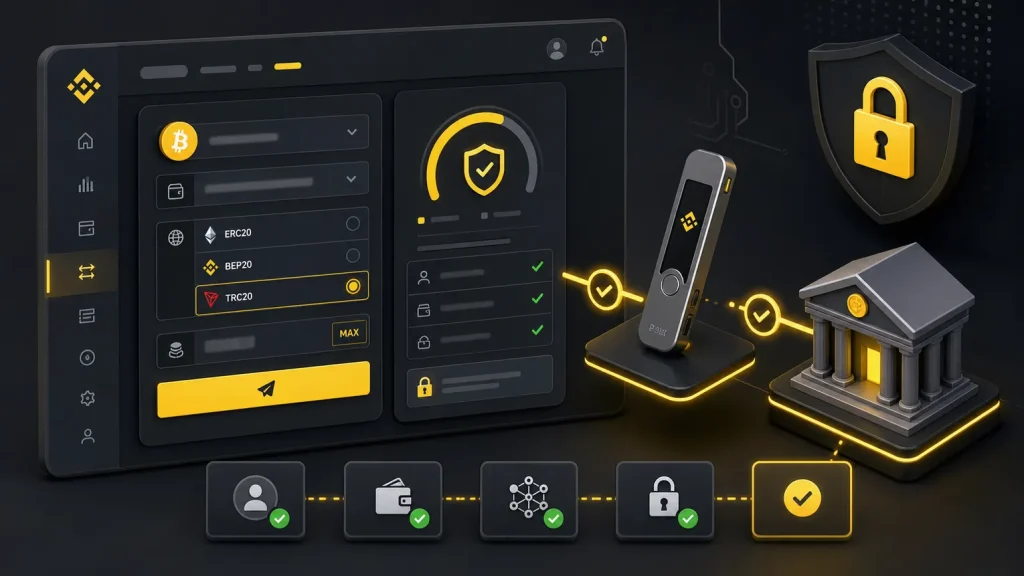
Step-by-step: crypto withdrawal on Binance
- Choose the asset: Go to Wallet > Spot and click Withdraw.
- Pick Crypto tab: Enter or paste the destination address.
- Select the network: Must match the address network. Examples:
- ERC20: Ethereum mainnet (wider compatibility, higher fees in busy times)
- BEP20: BNB Smart Chain (lower fees, quick confirmations)
- TRC20: TRON (low fees for popular stablecoins like USDT)
- Others: Arbitrum, Optimism, Polygon, Solana, etc. availability varies by asset
- Enter the amount: The preview shows network fee, minimum, and estimated arrival time.
- Add memo/tag if required: Some chains—XRP (destination tag), XLM (memo), ATOM, BNB, and others—require this. Missing it can lead to loss or a support ticket.
- Confirm security checks: Complete 2FA (Authenticator, SMS, email).
- Submit and track: Use Wallet > Transaction History to monitor status. On-chain confirmations depend on the network.
Key checks to avoid errors:
- Address format must match the chosen network. If you paste an ERC20 address, don’t send via BEP20 unless your recipient explicitly supports it.
- Ensure memos/tags are included where required.
- Never withdraw directly to a token sale address or a smart contract unless the project explicitly supports it.
Understanding Binance withdrawal limits for crypto
- Per-transaction limits: Each asset and network has a minimum withdrawal amount and a network fee. These can change with network conditions.
- 24-hour limits: Your total outflow over a rolling 24-hour window must stay within your account’s allowed cap. This cap varies by KYC tier and region.
- Network-based constraints: Some networks impose protocol-level limits or higher minimums; Binance mirrors these in the withdrawal UI.
Where to check exact numbers:
- On the withdrawal page, after choosing the asset and network, Binance displays the current minimum and fee.
- In your Profile > Identification section, review your daily withdrawal cap.
Fiat withdrawals and bank limits
Binance supports multiple off-ramp rails depending on your country and currency:
- ACH (US), SEPA (EU), Faster Payments (UK), Interac (CA), SWIFT (global), local bank transfers in supported regions
- Card withdrawals may be available in some markets
Considerations:
- Name match: Your bank account name must match your verified Binance name.
- Settlement time: ACH/SEPA may be 1–3 business days; Faster Payments is often near-instant; SWIFT varies by bank.
- Transfer caps: Per-transaction and daily limits apply by currency and method—shown at checkout.
- Compliance: Larger withdrawals may trigger additional verification or source-of-funds checks.
Fees, speed, and reliability: choosing the right network
- ERC20: Broad support, higher fees during peak demand, strong ecosystem.
- BEP20 (BNB Smart Chain): Low fees, fast confirmations, widely supported by many wallets.
- TRC20: Low-cost stablecoin withdrawals are common, quick settlements.
- Layer-2 networks (Arbitrum, Optimism): Lower gas fees than Ethereum mainnet, growing support; make sure your wallet is L2-ready.
- Solana, Polygon, and others: Competitive fees and speed; verify your wallet compatibility.
Best practice: Match network to your recipient’s capacity. If the receiving exchange only supports ERC20 for USDT, don’t send via TRC20 or BEP20.
Security holds and why your withdrawal might be delayed
- Password reset or new device login: Temporary withdrawal lock as an anti-fraud measure.
- Large or unusual withdrawals: Risk checks may hold your request pending review.
- Network congestion or maintenance: Blockchain-level delays or Binance maintenance windows can queue transactions.
- Travel Rule data: In certain regions, you may be asked to provide recipient details for compliance.
If your withdrawal shows “Processing” longer than expected, check:
- Binance announcements for network maintenance
- The transaction hash on the block explorer once it’s broadcast
- Support Center if compliance documents are requested
How to raise your Binance withdrawal limits
- Complete advanced verification: Government ID + liveness + proof of address (where required).
- Consider corporate accounts: Higher operational caps for businesses.
- Maintain account hygiene: Consistent device, strong 2FA, and address whitelisting can reduce friction.
- Increase VIP tier: Higher 30-day volume and BNB holdings can unlock better rates and sometimes higher thresholds.
Preventing costly mistakes
- Whitelist addresses: Enable Withdrawal Address Management so only approved addresses can be used.
- Use an anti-phishing code: Helps spot fake emails.
- Test with a small amount first: Especially on new networks or when sending to a new exchange.
- Double-check memo/tag: For XRP/XLM/BNB/ATOM and similar assets, the memo/tag is critical.
- Don’t send NFTs or unsupported tokens via generic network options unless explicitly supported.
Taxes and recordkeeping
- Export your withdrawal history: Wallet > Transaction History > Export.
- Keep notes on the purpose of transfers (e.g., move to self-custody) for audit trails.
- Consult local rules: Crypto-to-crypto and crypto-to-fiat movements can have reporting implications depending on jurisdiction.
Quick answers to common questions
-
How long do Binance withdrawals take?
- Crypto: Minutes to hours depending on network confirmations and congestion.
- Fiat: Near-instant to a few business days based on rail and bank.
-
Can I cancel a withdrawal?
- On-chain withdrawals cannot be canceled once broadcast. If it’s still “Processing,” you may stop it, but this window is brief.
-
Why is my withdrawal locked after I changed my password?
- Security lockouts are normal for a short period after major account changes. Check the timer in Security settings.
-
What if I sent funds to the wrong network?
- If you control the destination wallet’s keys, you might recover assets with technical steps. If sent to an exchange that doesn’t support that network, you’ll need to open a support ticket and success isn’t guaranteed.
-
Do I need a memo/tag?
- Only for assets/networks that require it (e.g., XRP, XLM, BNB). The withdrawal screen will indicate when it’s mandatory.
Pro tips for smoother Binance withdrawals
- Schedule large withdrawals during low-fee windows on your chosen network.
- Prefer stable, widely supported networks when sending to exchanges.
- Keep a dedicated hardware wallet for long-term holdings and verify addresses on-device.
- Use small test withdrawals when sending to a fresh address or a new chain.
Save on fees and get perks when you start
If you’re opening a new account or guiding a friend, you can reduce costs from day one. Use this referral when registering: Join Binance with code CRYPTONEWER for a 20% fee discount and up to $10,000 in benefits. Lower fees mean more flexibility when you’re optimizing networks and timing for withdrawals.
At-a-glance withdrawal checklist
- Confirm the asset and destination address
- Match the withdrawal network to the address/network supported by the recipient
- Verify minimums, fees, and 24-hour limit before submitting
- Add the memo/tag if required
- Complete 2FA and security checks
- Track the transaction and save the hash/receipt
With this workflow, the Binance withdrawal process and limits become predictable and manageable, whether you’re moving a small test transfer or a larger rebalancing across wallets.