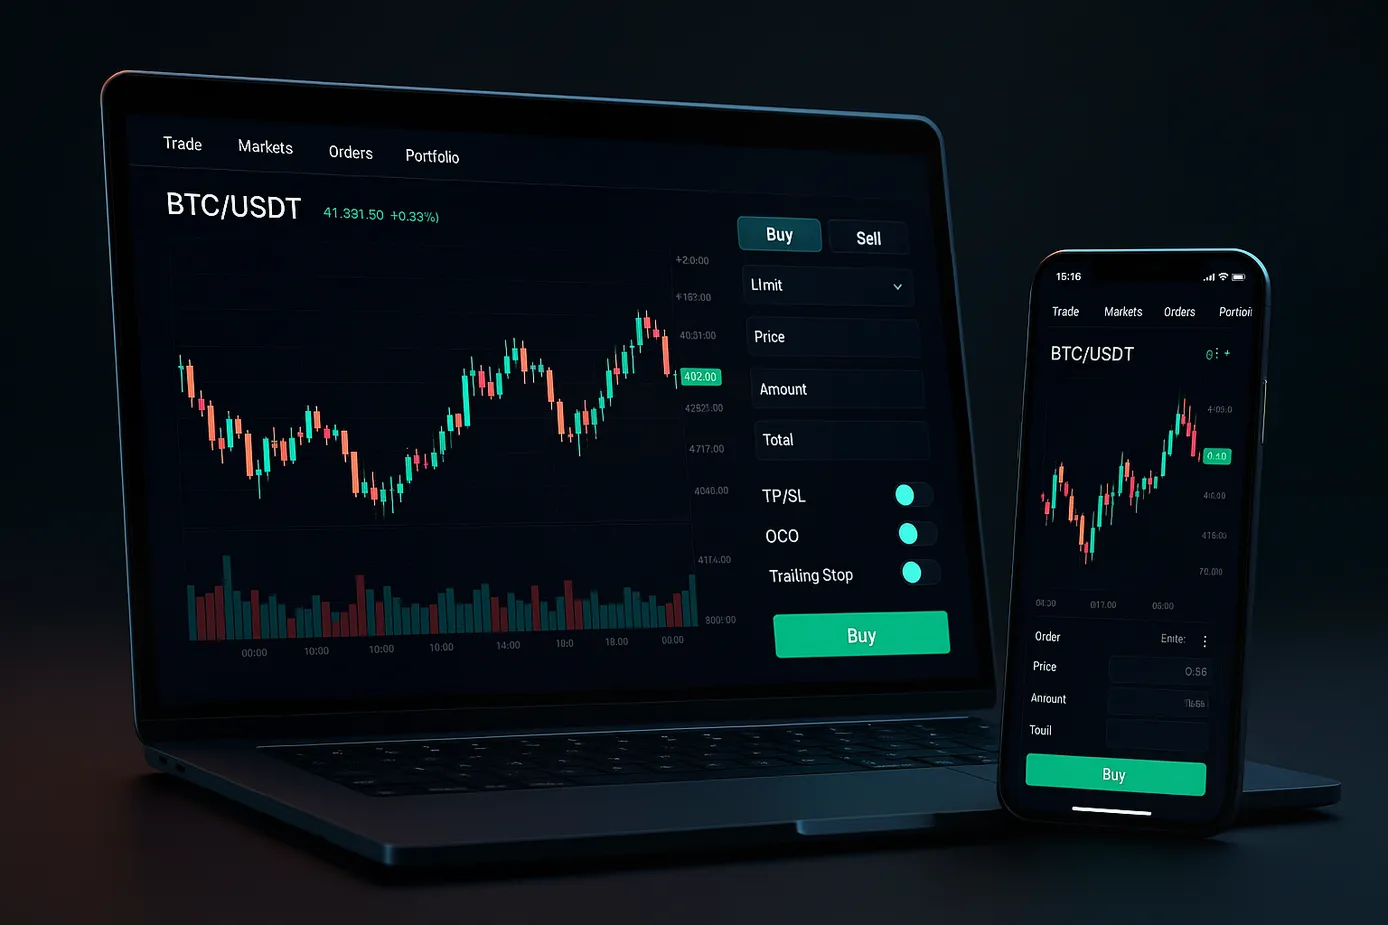
If you want your crypto trades to last, you need a plan for exits. That’s exactly where TP/SL comes in. In this guide you’ll learn How to Set TP/SL Orders on CoinEx with real-world steps, examples, and tips that help you protect capital and lock in gains—without babysitting charts all day.
First things first, if you don’t have an account yet, create one now using this referral to get started quickly: Sign up on CoinEx with code mhz7w. After registration, you can deposit, practice with small size, and experiment with take-profit and stop-loss in both Spot and Futures.
What TP/SL Means and Why It Matters
- TP stands for take profit. It’s a pre-set price to close your position when the market moves in your favor.
- SL stands for stop loss. It’s a pre-set price to close your position when the market moves against you.
- Together, TP/SL are the backbone of crypto risk management because they:
- Define your max loss and target upside before you click buy or sell
- Reduce emotional decision-making during volatility
- Automate execution when you’re offline
You’ll see TP/SL implemented via different order types on CoinEx, such as Stop, Trigger, OCO (one-cancels-the-other), and TP/SL panels in Futures. The labeling may vary by interface version, but the logic remains consistent.
Key Terms You’ll See When Placing TP/SL Orders
- Trigger price: The price at which your stop or take profit order activates and becomes a live order.
- Order price: The price of the order that gets sent when the trigger is hit. On some interfaces, this may be the same as the trigger price; on others, you can choose a separate limit price.
- Last vs Mark vs Index price: For derivatives, you may be able to choose which price source triggers your TP/SL. Many traders prefer Mark price to reduce accidental wicks triggering stops.
- Reduce-only: Ensures the order only decreases or closes your position, never increases it.
Quick Start Checklist
- Register and log in to your account using CoinEx and referral code mhz7w.
- Enable security features like 2FA.
- Deposit or transfer assets to Spot or Futures wallet.
- Decide your trade plan first: entry, invalidation, and target.
- Choose the correct order type for your use case: Stop, OCO, or TP/SL panel.
How to Set TP/SL on CoinEx Spot Trading
Spot trading on CoinEx typically supports stop and OCO-style logic so you can manage exits even when you’re not at the screen. Here’s a general step-by-step flow.
A. Stop or Trigger Order for Stop Loss
- Go to Markets, choose your pair (for example, BTC/USDT), then open the Trade interface.
- In the order panel, switch from Limit/Market to a Stop or Trigger type.
- For a long position you want to protect, you’ll place a Sell stop:
- Trigger price: The price at which the stop activates (e.g., 58,800 USDT).
- Order price: The limit price you want the system to place when triggered (e.g., 58,750 USDT to improve fill probability).
- Amount: How many coins to sell.
- Review, then Confirm.
This setup will not sell until your trigger is hit, at which point a limit order gets placed at your chosen order price.
B. OCO for Take Profit and Stop Loss Together
An OCO order lets you place a take profit and a stop loss simultaneously. When one executes, the other cancels automatically.
- In the same order panel, choose OCO (sometimes called One-Cancels-the-Other).
- For a long position:
- TP side: Choose a Sell limit at your target (for example, 61,200 USDT).
- SL side: Choose a trigger price and order price below your entry (for example, trigger 58,800, order 58,750).
- Amount: Match the size you want to close.
- Confirm.
With OCO, you define your upside and downside boundaries in one go.
How to Set TP/SL on CoinEx Futures Trading
Futures adds more choices and controls, so it’s ideal for precise risk management. The exact button labels may differ by app version, but this is the typical workflow.
A. Set TP/SL When You Open a Position
- Choose your Futures market and leverage.
- In the order ticket, look for Take Profit and Stop Loss fields.
- Enter your desired TP and SL using either:
- Price: e.g., TP 2615.0, SL 2498.0
- PnL or percentage (if available): e.g., TP at +3%, SL at −1.5%
- Select trigger price source (Last/Mark/Index) if the option is shown. Many traders prefer Mark price.
- Enable Reduce-only for exits.
- Place the order. Your position, once opened, will carry these TP/SL instructions.
B. Set or Edit TP/SL on an Existing Position
- Open the Positions tab.
- Find the position you want to manage and click TP/SL.
- Enter prices or percentages for both take profit and stop loss.
- Choose Reduce-only, confirm, and save.
C. Example for a Long Futures Position
- Entry: 2,550
- Take Profit: 2,615 (+2.55%)
- Stop Loss: 2,498 (−2.04%)
- Risk-to-reward: About 1 to 1.25
Adjust your numbers to fit your edge and volatility. The key is to set both before the trade moves, not after emotions kick in.
Advanced Controls You’ll Appreciate
Trailing Stop
A trailing stop moves with price in your favor and locks in profit if the market reverses.
- Set a callback rate or step size (for example, 1%).
- If you’re long and the price climbs, the stop trails behind by 1%.
- If price drops by 1% from its peak, the trailing stop triggers.
Trailing stops are great for trends you want to ride without constantly adjusting your TP.
Post-Only, IOC, FOK
- Post-only helps you avoid taker fees when placing limit orders.
- IOC (Immediate or Cancel) and FOK (Fill or Kill) are execution controls you might combine with a triggered order depending on strategy.
Reduce-Only
Always enable Reduce-only for exits so a stop or take profit never increases your position size by mistake.
Choosing Trigger Sources and Slippage Buffers
- Last price is the most straightforward but can wick during volatility.
- Mark price is often smoother and designed to reduce liquidation anomalies.
- Index price tracks an external basket and can be useful for consistent triggers.
If you use limit orders as the action after a trigger, include a small buffer between trigger price and order price for better fill probability during fast moves.
Position Sizing and TP/SL Placement
Before you hit buy or sell, define:
- Invalidation level: The price at which your trade idea is logically wrong.
- Target: Where you expect the move to reach based on your setup.
- Size: Use a position size that keeps your account risk per trade acceptable (many traders keep it under 1–2%).
A simple process you can reuse:
- Identify invalidation level (where SL should live).
- Set SL first; derive position size from the distance to SL.
- Choose TP based on structure, liquidity pools, or measured move.
- Place the trade with both TP and SL active.
Common Mistakes to Avoid
- Setting SL too tight under noisy intraday levels.
- Forgetting Reduce-only and accidentally flipping positions.
- Mixing up trigger and order price leading to misfires.
- Using Market-only exits during illiquidity and getting severe slippage.
- Placing stops exactly at obvious round numbers where wicks are frequent.
Mobile App Walkthrough
The CoinEx app mirrors most desktop functionality. The naming may vary slightly, but the flow remains similar:
- Tap Markets and pick your pair or contract.
- Tap Trade.
- For Spot, choose Stop, Trigger, or OCO to set SL and TP. Confirm sizes and prices.
- For Futures, use the TP/SL fields on the order ticket or edit from the Positions panel.
- Double-check trigger source (Last/Mark) if available.
- Toggle Reduce-only for exits, then confirm.
Practical TP/SL Examples You Can Model
-
Range breakout with bracket:
- Entry on breakout
- SL just inside the range to confirm invalidation
- TP at the next liquidity pocket or measured range height
-
Trend pullback continuation:
- Entry after a pullback to moving average or prior high/low
- SL under the prior swing low (for longs)
- TP at 1.5–2R and consider a trailing stop for the runner
-
News volatility hedge:
- Smaller size
- Wider SL to account for spread and slippage
- Partial TP before event and tighter trailing stop after spike
Testing and Iteration
- Backtest your TP/SL placements using historical data and a journaling routine.
- Track how often stops are hit, average winner vs loser, and R-multiples.
- Adjust trigger source and buffers to match the volatility of each market.
Security and Risk Notes
- Always enable 2FA and withdrawal protections.
- Keep risk per trade controlled; TP/SL are tools, not guarantees.
- Derivatives involve leverage and can amplify losses as well as gains.
Ready to Practice How to Set TP/SL Orders on CoinEx
Open an account and try a small, controlled trade with a bracket. Use this quick link to get started: Create your CoinEx account code mhz7w. After funding, place a test trade with an OCO on Spot or a TP/SL bracket on Futures, and review fills in your order history.
If you ever feel uncertain about labels, hover tooltips on desktop or tap the small info icons on mobile—they’re handy. The core idea never changes: define your risk, automate your exits, and let the plan do the heavy lifting.
FAQ on How to Set TP/SL Orders on CoinEx
- Can I set both TP and SL at the same time on Spot
- Yes, use an OCO-style order so one cancels the other when filled.
- Can I change TP/SL after opening a Futures position
- Yes, edit from the Positions panel and re-save.
- Which trigger price should I use
- Many prefer Mark price for stability, but test what suits your strategy.
- Do I have to close 100% of my position
- No, you can set partial TPs and keep a runner with a trailing stop.
- Where do I sign up
- Right here with referral code mhz7w: CoinEx registration link.


