
If you’re searching for a clear, no-nonsense path on How to buy USDS(USDS), this guide walks you through every step—from setup to execution—so you can move confidently whether you prefer a centralized exchange workflow or a decentralized swap. You’ll also find pro tips on fees, networks, and security that most quick tutorials skip.
Quick link to get started: Sign up on Bitget with code cryptonew0 to create your account and prepare for your first USDS trade or transfer.
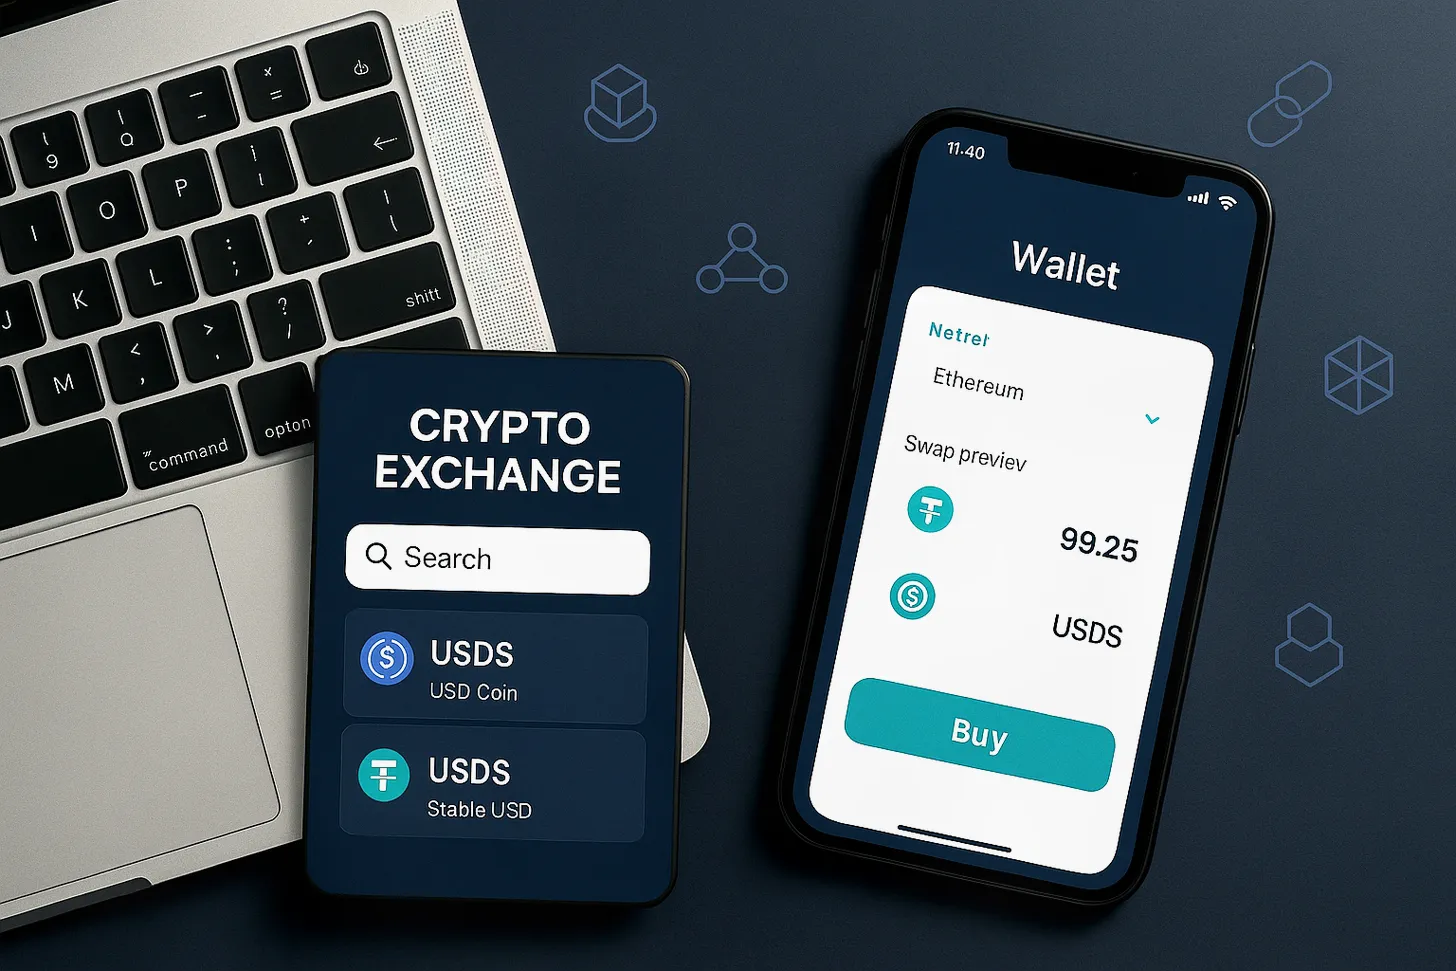
What is USDS and why people buy it
USDS typically refers to a U.S. dollar–pegged crypto asset (a stablecoin) with the ticker USDS. It’s designed to track the value of 1 USD per token. Depending on issuer and deployment, USDS may exist on multiple networks, and there may be more than one asset using the “USDS” ticker across chains. That makes contract verification and network selection critical before you buy.
Why people buy USDS:
– To reduce volatility while staying in crypto
– To move funds across exchanges and chains with predictable value
– To pair with other tokens in trading strategies
Before moving ahead, confirm which USDS you want. Visit the issuer’s official site or a trusted block explorer to verify:
– The exact contract address
– Supported networks (e.g., Ethereum, BNB Chain, Arbitrum, etc.)
– Any bridge or custodian details
Two reliable paths to buy USDS
Because listings can change, you have two simple approaches. Both are covered here in depth so you can execute either today.
- Method A — Centralized exchange path: Use Bitget with referral code “cryptonew0” to onboard, then look for a USDS trading pair. If a USDS spot market is available, you can buy it directly with USDT, USD, or another base asset.
- Method B — Decentralized swap path: Buy USDT or another major asset on Bitget, withdraw to your self-custody wallet on the correct network, then swap for USDS on a DEX (e.g., Uniswap, PancakeSwap) using the verified contract.
Both methods are fast; choose the one that matches availability and your comfort level.
Method A: How to buy USDS on an exchange with Bitget
Use this method if Bitget currently lists USDS. If not, skip to Method B.
1) Create your account
– Go to Bitget and sign up.
– Use referral code: cryptonew0 during registration to access eligible fee discounts or promotions (subject to Bitget’s current offers and terms).
2) Complete KYC and enable security
– Verify your identity to unlock deposits and trading limits.
– Turn on 2FA, set a strong password, and add a withdrawal whitelist.
3) Fund your account
– Deposit crypto (USDT, USDC, BTC, or ETH) or buy with card/fiat where supported.
– If you prefer bank transfer or P2P, follow the on-screen options.
4) Search for a USDS market
– In the Spot section, search for “USDS.”
– Look for pairs like USDS/USDT. If you find a listing with decent liquidity, proceed.
5) Place your order
– Choose Market for immediate execution or Limit to set your buy price.
– Double-check you selected the correct USDS market.
– Confirm the order and review the filled amount.
6) Secure your holdings
– Decide whether to keep USDS on-exchange for active trading or withdraw to a self-custody wallet.
– For withdrawal, confirm the correct network and token contract before sending.
7) Optional: Set alerts and automation
– Use price alerts or recurring buys if you plan to accumulate.
Pro tip: If you don’t see a USDS listing, continue with Method B below. You can still use Bitget as your fiat on-ramp and staging exchange.
Method B: Buy on Bitget, then swap to USDS on a DEX
This is the flexible approach if your target USDS isn’t listed on your exchange yet, or if you prefer self-custody from the start.
1) Prepare a self-custody wallet
– Choose MetaMask, Rabby, Trust Wallet, or another reputable wallet.
– Add the network where your target USDS exists (e.g., Ethereum, BNB Chain, Arbitrum). Confirm RPC and chain ID from official sources.
2) Onboard with Bitget
– Create your account here: Open Bitget with code cryptonew0
– Complete KYC to enable fiat buys and withdrawals.
– Fund with fiat or deposit crypto.
3) Buy a liquid base asset
– Purchase USDT or another commonly paired token on Bitget.
– Why USDT: it’s widely paired on DEXs and has deep liquidity.
4) Withdraw to your wallet on the correct network
– In Bitget, choose Withdraw and select the same network that your target USDS uses.
– Paste your wallet address carefully.
– Triple-check network selection to avoid cross-chain mistakes.
5) Verify the exact USDS contract
– Fetch the official contract address from the issuer or a trusted aggregator.
– Never rely solely on token name or ticker on a DEX interface.
6) Swap on a DEX
– On Ethereum/Arbitrum/Polygon: Use Uniswap or another established DEX.
– On BNB Chain: Use PancakeSwap or another reputable DEX.
– Import the verified USDS contract if the token isn’t auto-listed.
– Set slippage tolerance conservatively (often 0.1–0.5% for stable pairs, but adapt if liquidity is thin).
7) Confirm the received token in your wallet
– Add USDS as a custom token if it doesn’t appear automatically.
– Check that the balance matches your expectation.
8) Optional: Bridge between networks
– If your USDS exists on a different chain, use a secure bridge recommended by the issuer.
– Always validate the bridge’s URL and fees.
Fees, speed, and safety checklist
- Network fees: Ethereum mainnet gas can spike. If cost-sensitive, consider lower-fee chains where USDS is deployed.
- Exchange withdrawal fees: Check Bitget’s fee schedule before moving funds.
- DEX slippage: Lower slippage is best, but very low settings may cause failed transactions.
- Contract verification: Paste the exact contract address; ignore similarly named tokens.
- Phishing protection: Bookmark official URLs; be skeptical of ads and unsolicited messages.
- Custody choice: Exchange custody is convenient; self-custody offers control but requires discipline with seed phrases.
How to verify you’re buying the right USDS
Because tickers can overlap, confirm all three:
– Issuer and official website announcement
– Contract address on the intended network
– Explorer page (Etherscan, BscScan, Arbiscan) with verified contract and token metadata
Tip: If an aggregator shows multiple USDS tokens, use the issuer’s official link to the explorer. Cross-check decimals, supply, and recent transfers for sanity.
Common mistakes to avoid
- Choosing the wrong chain at withdrawal time, causing funds to arrive on a network your wallet or DEX doesn’t support
- Swapping into a similarly named but unrelated token due to an unverified contract
- Sending funds to an exchange deposit address for a token or network that the exchange doesn’t support
- Ignoring minimum withdrawal amounts and dust limits
- Using maximum slippage on a low-liquidity pool
Quick-start summary for busy readers
-
If you can find a USDS spot market on Bitget, buy it directly:
1) Sign up with code cryptonew0
2) KYC and deposit
3) Search USDS market and buy -
If you don’t see USDS listed, swap via DEX:
1) Buy USDT on Bitget
2) Withdraw to a self-custody wallet on the correct chain
3) Swap to USDS on a reputable DEX using the verified contract
Practical example (DEX route)
- Goal: Acquire 500 USDS on BNB Chain
- Steps:
1) On Bitget, buy 500 USDT
2) Withdraw 500 USDT via BNB Chain to your wallet address
3) Confirm receipt in your wallet
4) Open PancakeSwap, import the verified USDS contract
5) Swap USDT -> USDS with 0.2% slippage
6) Add the USDS token to your wallet to display the balance
Security best practices
- Store seed phrases offline; never type them into random sites
- Use a hardware wallet for larger balances
- Enable 2FA and withdrawal whitelist on your exchange
- Test with a small transfer before moving large amounts
- Keep software and wallet extensions up to date
Taxes and compliance note
Crypto transactions may be taxable in your jurisdiction. Keep records of your buys, swaps, deposits, and withdrawals. If in doubt, consult a professional who understands digital assets.
Frequently asked questions about How to buy USDS(USDS)
Q: Do I need KYC to buy USDS?
A: Most centralized exchanges, including Bitget, require identity verification for fiat on-ramps and withdrawals. DEX usage typically doesn’t require KYC, but you’ll still need to source crypto from somewhere, often an exchange.
Q: What if I can’t find USDS on Bitget today?
A: Use the DEX route. Buy USDT on Bitget, withdraw to the correct chain, and swap into USDS using the verified contract.
Q: Which network should I choose?
A: Use the chain where your target USDS is officially issued and liquid. Check issuer docs and explore DEX liquidity before deciding.
Q: Is USDS the same as USDT or USDC?
A: No. They’re different tokens with different issuers and mechanics. Always verify the exact asset you want.
Q: Is there an easy on-ramp recommendation?
A: Yes. Create an account here: Bitget signup with cryptonew0, complete KYC, and buy USDT or USDS (if listed) to start.
Your action plan
- Step 1: Open your account at Bitget and enter referral code cryptonew0 during signup.
- Step 2: Decide between the exchange route or the DEX route based on current listings.
- Step 3: Verify the USDS contract and network, then execute your buy.
- Step 4: Secure your assets and document your transactions.
This playbook keeps you flexible: if a direct USDS market is live on Bitget, you’ll save time; if not, the DEX path gives you full control.
Note: This article is educational and not financial advice. Crypto involves risk. Always verify contracts, URLs, and network details before you transact.
 How to Use Bybit Earn and Dual Asset Mining: Actionable Guide for Smarter Crypto Yield
 How to Avoid Liquidation on OKX Proven Strategies for Safer Margin and Futures Trading
 How to buy Jupiter Perpetuals Liquidity Provider Token(JLP) — Proven Step-by-Step Playbook
 How to buy Injective(INJ) Practical Step-by-Step Guide for 2025