
If you’re curious about decentralized finance, NFTs, or simply want a secure, multichain wallet that plugs into your favorite DApps with minimal fuss, learning How to Use OKX Wallet and Web3 Features is a smart move. This guide walks you through setup, security, funding, and everyday Web3 workflows—swaps, bridging, earning, and NFTs—so you can navigate Web3 with more confidence and fewer mistakes.
Quick start: create your account and claim the code many readers use to get started—join via Sign up for OKX with code CRYPTONEWER for fast onboarding, then continue below to set up your Web3 wallet in minutes.
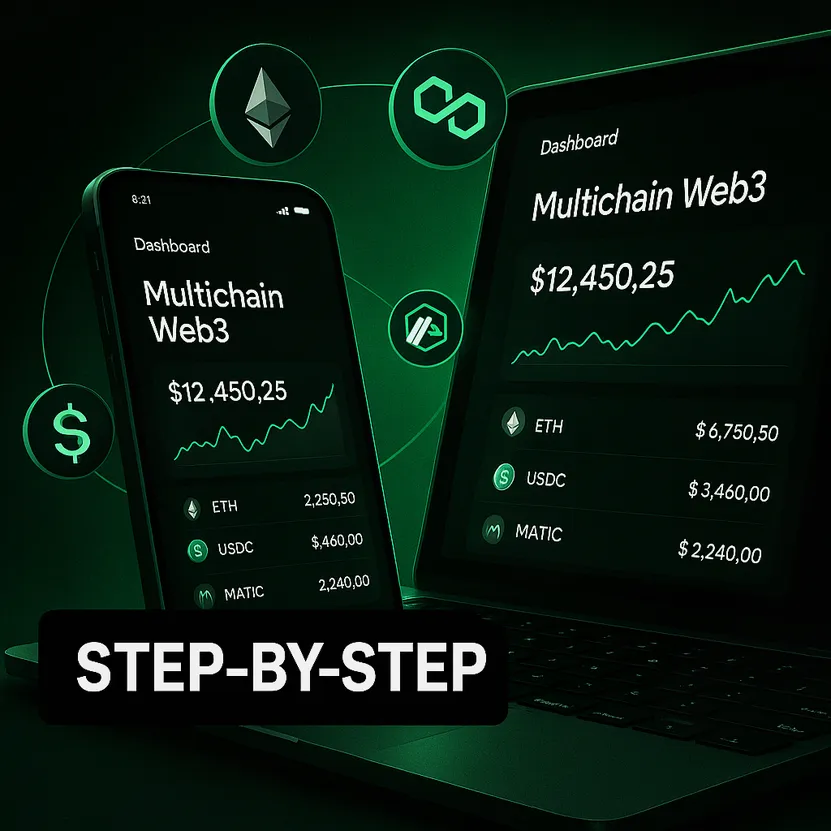
What the OKX Wallet Is (and Why It Matters)
The OKX Web3 Wallet is a self-custody, multichain wallet available as a mobile app and browser extension. It’s designed to help you:
- Manage assets across multiple networks (think Ethereum, BNB Chain, Polygon, Arbitrum, Optimism, Bitcoin, and more)
- Discover and connect to DApps using a built-in DApp browser and WalletConnect
- Swap tokens via DEX aggregators and use cross-chain tools
- Interact with DeFi protocols (lending, staking, liquidity) and NFT marketplaces
Because it’s self-custody, you control your keys and sign transactions yourself. That also means you’re responsible for backup and security—covered below.
Pro tip: If you’re new to Web3, set aside a small “practice” balance to learn flows safely before moving larger funds.
Step 1: Install the OKX Wallet (Mobile or Extension)
- Mobile: Install the OKX app from your official app store. In the app, navigate to Web3 Wallet.
- Desktop: Install the OKX Wallet browser extension from the official Chrome Web Store or supported browser add-on store.
After installation, sign in or create an account using Join OKX with CRYPTONEWER to streamline the process. The Web3 wallet can be used even if you never trade on the exchange; it’s a separate, self-custodial component.
Step 2: Create or Import Your Wallet Safely
You’ll typically see two onboarding paths:
1) Create a new wallet
– The app generates a seed phrase (secret recovery phrase). Write it down offline on paper or a metal backup. Never screenshot or store it in cloud notes.
– Confirm the phrase during setup. Keep multiple secure backups in separate locations.
2) Import an existing wallet
– Enter your seed phrase or private key (only inside the wallet app/extension). Double-check the app is genuine and the URL is correct.
Security checklist:
– Set a strong passcode/biometric lock for quick access.
– Enable phishing warnings and transaction previews where available.
– Never share your seed phrase with anyone, ever. No support agent needs it.
Step 3: Choose Your Networks and Tokens
The wallet supports multiple chains. Add or enable networks you plan to use:
– EVM chains: Ethereum, Arbitrum, Optimism, BNB Chain, Polygon, Avalanche, etc.
– Non-EVM networks as supported (e.g., Bitcoin ecosystem). Some features vary per chain.
Add tokens:
– Popular tokens auto-populate. For others, paste the token contract address (on the correct network). Verify contract addresses from official project sites.
Step 4: Fund the Wallet
Common ways to get assets into your wallet:
- Receive from another wallet: Tap Receive, pick the correct network, copy your address, and send a small test transaction first.
- Transfer from an exchange: Withdraw to your wallet address. Match the network precisely.
- Bridge assets cross-chain: Use the built-in bridge/swap tools to move tokens between networks if supported. Check fees, route, and estimated arrival.
- On-ramp: If available in your region, buy crypto directly with a card/transfer, then move it within your wallet.
Gas fees tip:
– Each chain requires its native token for gas (ETH for Ethereum, MATIC for Polygon, etc.). Keep a small buffer for transactions.
Step 5: Use the DApp Browser and WalletConnect
- In-app DApp Browser: Search and open DApps directly within the wallet. You’ll see a Connect button—confirm the network and then connect.
- WalletConnect: On a DApp’s website, choose WalletConnect, then scan the QR code with your mobile wallet. Verify the session request and permissions.
Always confirm you’re on the official DApp URL. Bookmark trusted DApps inside your wallet.
Step 6: Swaps, Cross-Chain, and DeFi
Swapping tokens
– Use the wallet’s swap interface (often an aggregator) to get competitive routing.
– Set slippage cautiously; higher slippage risks frontruns, lower risks failed transactions.
– Check minimum received and route details before signing.
Cross-chain actions
– When moving assets between chains, verify the bridge, ETA, and fees.
– Some assets are “wrapped” when bridged. Understand the token you’ll receive.
– For large amounts, test with a small transfer first.
DeFi: earning, lending, and LP
– Lending/borrowing: Connect to reputable protocols. Review collateral factors, liquidation thresholds, and interest volatility.
– Staking/farming: Understand lockup, reward token, and emission schedule.
– LP positions: Impermanent loss is real. Estimate exposure before adding liquidity.
Risk controls
– Approvals: When you grant a DApp permission to spend your tokens, later use an approval manager to reduce or revoke allowances.
– Simulations: If available, preview transactions to detect suspicious calls.
Step 7: NFT Minting, Trading, and Portfolio Management
- Discovery: Browse featured collections and curated marketplaces where supported.
- Minting: Only mint from official links. New mints are prime phishing targets—double-check URLs, social channels, and signatures.
- List and trade: Review royalties, platform fees, and network gas conditions.
- Storage: Rare NFTs may be better on a wallet segregated from daily DeFi activity.
Metadata note: Some NFTs refresh metadata on-chain or via IPFS. If art isn’t loading, try a refresh tool or wait for indexers.
Fees, Gas, and Speed: Practical Tips
- Busy blocks = higher gas. Consider off-peak times for key actions.
- Use fee presets or advanced gas controls if you know what you’re doing.
- For L2s, gas is cheaper but still needed. Keep small balances per chain.
- Failed transactions still cost gas—double-check balance, slippage, and approvals first.
Security Best Practices for Web3
- Seed phrase hygiene: Offline backups only. Consider a fireproof/metal backup and never type your seed on random sites.
- Device security: Keep OS and wallet updated, use device encryption, and avoid public Wi‑Fi for large transactions.
- Phishing defenses: Bookmark official sites, verify signed messages, and be skeptical of unsolicited airdrops or DMs.
- Transaction habits: Start with small amounts; review contract addresses, functions, and spending caps.
- Separate wallets: Use different wallets for testing, NFTs, and larger holdings to compartmentalize risk.
Reminder: Nothing here is financial advice. Web3 involves risk; only interact with protocols you understand.
Power-User Moves and Advanced Settings
- Custom networks and RPCs: Add trusted RPC endpoints for better reliability. Avoid unknown endpoints that could mislead you.
- Testnets: Toggle testnets for learning and developer testing without risking real funds.
- Token lists: Use curated lists to avoid fake tokens. Always verify contract addresses.
- Signature awareness: Distinguish between “Approve,” “Permit,” and “SetApprovalForAll.” They grant different levels of token access.
- Portfolio view: Track PnL, cost basis (if supported), and multi-chain balances to make better decisions.
Common Mistakes (and How to Avoid Them)
- Sending on the wrong network: Match chain and address formats every time. For EVM networks, the same address may work—but tokens won’t show on a different chain unless bridged correctly.
- Ignoring gas: Keep a small native token balance on each chain you use.
- Over-approvals: Don’t set unlimited approvals unless necessary. Revoke after use.
- Chasing APY blindly: Assess smart contract risk, tokenomics, and lockups.
Quick Start Checklist
- Install mobile or extension wallet
- Create/import wallet and back up seed phrase offline
- Add networks you’ll use and verify token contracts
- Fund with small test amounts; keep native gas tokens
- Connect to DApps via in-app browser or WalletConnect
- Swap, bridge, and use DeFi/NFTs carefully with approvals
- Regularly review allowances and security settings
Ready to begin? Use the official referral to simplify onboarding: Join OKX with referral code CRYPTONEWER. Keep this code handy: CRYPTONEWER.
FAQs
What’s the difference between the OKX exchange account and the Web3 wallet?
– The exchange is custodial; OKX holds assets for you if you deposit there. The Web3 wallet is self-custody; you control keys and sign transactions.
Do I need funds on every chain?
– Yes, each chain needs its native token for gas. Even simple transfers require a small amount.
Why can’t I see my token after a transfer?
– Ensure you’re on the correct network in your wallet and that you’ve added the token contract. Check block explorers for confirmations.
Are cross-chain transfers reversible?
– Generally no. Always test with a small amount and confirm the destination chain and token format before bridging.
Where do I get the latest app and extension?
– Only install from official app stores and the OKX website. Bookmark the official link and avoid lookalikes.
How do I use the referral code?
– Sign up via OKX referral link: CRYPTONEWER during onboarding. Keep the code CRYPTONEWER for quick access.
 What is Filecoin(FIL) Essential Guide to Web3 Storage, Tokenomics, and Earning
 Step-by-Step How to buy Jupiter Perpetuals Liquidity Provider Token(JLP) on Solana with CoinEx
 The Definitive Guide to Understanding MEXC Trading Fees
 How to Use Binance Lite vs Pro Mode Essential Guide for Faster Trades and Deeper Analysis